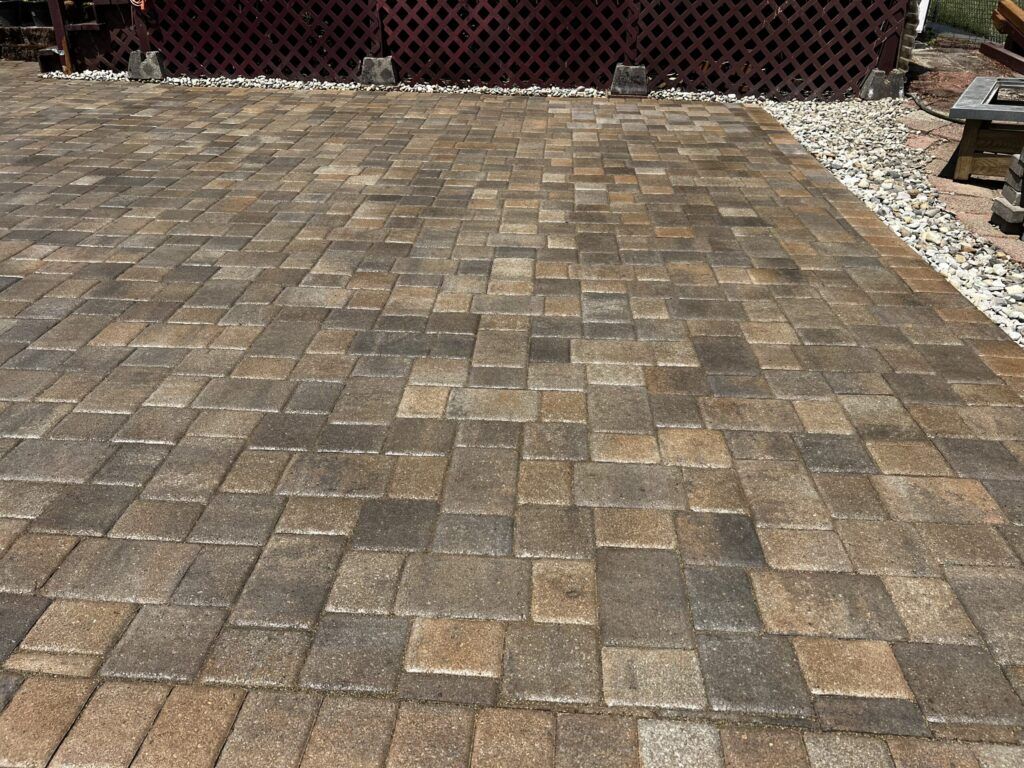
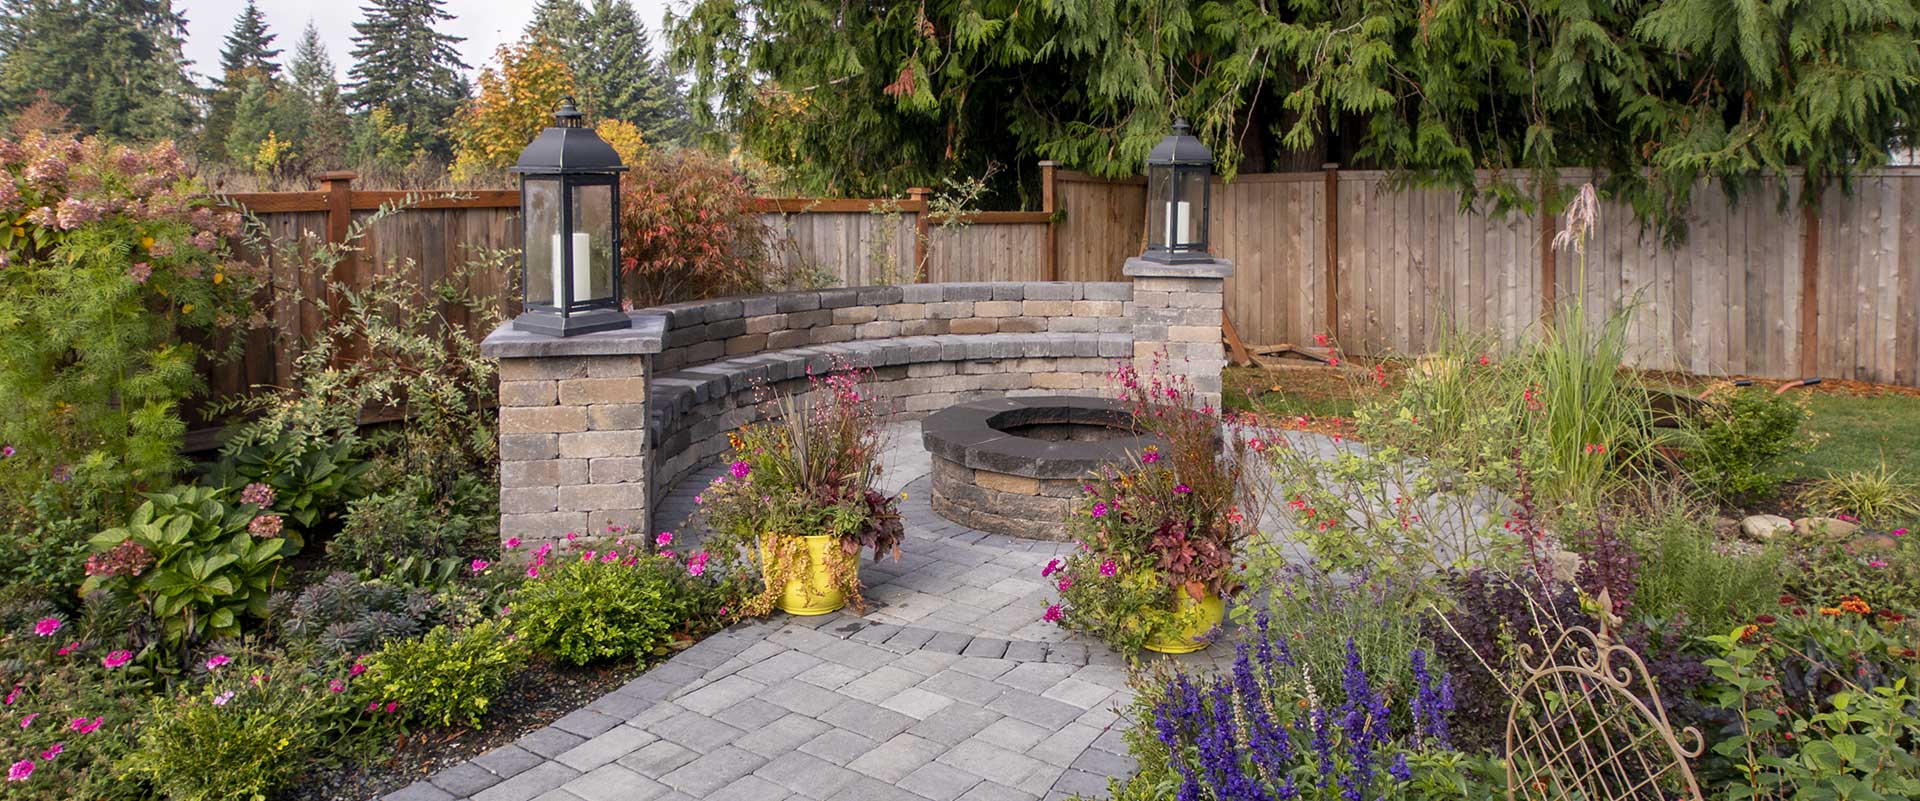
Paver projects can significantly improve your home’s curb appeal.
However, pavers don’t look great forever. You need to apply a paver sealer (a type of protective coating for your paver surface) periodically to retain that exquisite look you love for a long time.
In this blog post, you’ll learn how to apply a paver sealer on your own.

The Need for Paver Sealers
Some of the benefits of paver sealers include the following.
Increased Protection
Sealing a paver patio or driveway means better protection against weathering. Moisture, UV rays, snow, and ice can cause your paver to fade.
Stains also seep into the surface more easily when there’s no protective coating over it. Paver sealers create a barrier over the surface, keeping substances from entering the porous surface of paver stones.
Increased Durability
When you seal pavers, they become more resistant to salt, freeze-thaw cycles, and other environmental factors. A high-quality sealer also makes the surface less attractive to weeds and mildew. The result is a surface that will last longer and remain attractive for a long time.
Easier Cleaning
Sealed pavers don’t absorb stains. Therefore, cleaning sealed surfaces is a lot more straightforward. All you need is soap, water, and a bristled broom (medium stiffness) to keep your paved surface shining.
Popping Color
Brick paver sealing has a way of bringing out the natural color of pavers. Sealed paver surfaces look more vibrant and attractive than unsealed surfaces. So, knowing how to apply a paver sealer is a sure way to keep your driveway or patio looking great for a long time.
Types of Paver Sealers
Paver sealers come in different variants. Each one has its pros and cons. Understanding the benefits and downsides of each one will help you choose the best option for your outdoor space. The options include the following.
Solvent-Based Sealer
Solvent-based sealers are the most durable option. Homeowners choose them because they penetrate deep into the surface of the individual stones to form a thick protective layer across them. Thus, it’s best to use solvent-based sealers across high-traffic areas such as driveways and walkways.
They also make the pavers look more vibrant, especially if you choose options with a high-gloss finish.
However, solvent-based sealers have a strong chemical composition, which gives off a strong odor during application. So, you’ll need to wear protective gear over your face to prevent fumes from entering your eyes or lungs.
Water-Based Sealer
Do you want a more natural, true-to-color appearance for your pavers? Water-based sealers are the best choice. These eco-friendly products with lower volatile organic compounds come in satin and matte finishes. The installation process is straightforward. They provide UV protection without leaving a yellow tint and prevent water damage. However, they work best for areas with less foot traffic. Otherwise, you may need to reapply more frequently.
Paver Sealers and Joint Stabilizers
Some products are a mix of paver sealers and joint stabilizers. They don’t just keep your paver surface looking great and protected against UV rays, chemicals, and water damage. They also keep in the joint sand, which prevents erosion, weed growth, and insect infestation. You can find these products in natural matte or gloss finishes.
The Steps To Applying a Paver Sealer
Below is a look at how to apply a paver sealer.
Step 1: Prepare the Surface
You can’t apply paver sealers on dirty or debris-laden surfaces. Similarly, you don’t want to discover a problem with the paver surface after you’ve already gone halfway into the paver sealing process. Therefore, you need to spend some time preparing the surface.
Start by checking for broken or cracked segments and missing locking sand in block joints. Next, clean the surface thoroughly using soap, water, and broom (or hire pressure washing equipment).
After cleaning the surface, wait until it’s dry before sealing to avoid trapping any moisture inside.
Step 2: Apply the Sealer
You should only apply paver sealers on low humidity days where the temperature agrees with the manufacturer’s recommendation on the sealer label. Stir the sealer thoroughly before use to avoid uneven application.
The best way to ensure you’ll get a nice, even coating is to apply the sealer with a low-pressure sprayer to ensure you get enough sealant into crevices and pavers, then go over the surface with a dry roller to soak up any excess. The roller will also remove drip marks.
Step 3: Wait for the Sealer To Dry
You need to wait for the sealer to dry if you want to enjoy the results of your hard work. Cordon off the area to avoid foot traffic from people and pets.
It can take up to 24 hours for the sealer to dry and for the surface to be ready for use again.
Frequently Asked Questions (FAQs) — Paver Sealer
Is There a Prep Process Before Applying Paver Sealant?
Yes, there is a prep process before you can apply paver sealant. The bulk of it involves cleaning the pavers to avoid sealing in stains, debris, and dirt. However, you may also need to fix visible damage to the surface first.
What If I Don’t Seal My Pavers?
You expose your pavers to faster deterioration if you don’t seal them. Unsealed pavers don’t have any defenses against the elements. Thus, they’ll break down more quickly.
What Are the Ideal Weather Conditions for Sealing?
You should only apply sealers in mild, low-humidity temperatures. This rules out extremely cold or extremely hot days. Manufacturers also have temperature recommendations.
How Often Should I Reapply Paver Sealers?
You should reapply paver sealers every three to five years. The exact frequency depends on the type of sealer you’re using and the level of abuse the surface suffers.
Conclusion
Knowing how to apply a paver sealer is the most effective way to maintain the beauty and durability of your paver surfaces. Do you need help with the paver sealing process? Would you like to know more about how much paver sealing costs? Call the Sta-Built Construction team in Olympia, WA, at (360) 837-6170 for help with paver stone sealing.
